FrankenSpider
(a crashed Tarantula X6 revived with a WLToys v262 frame)

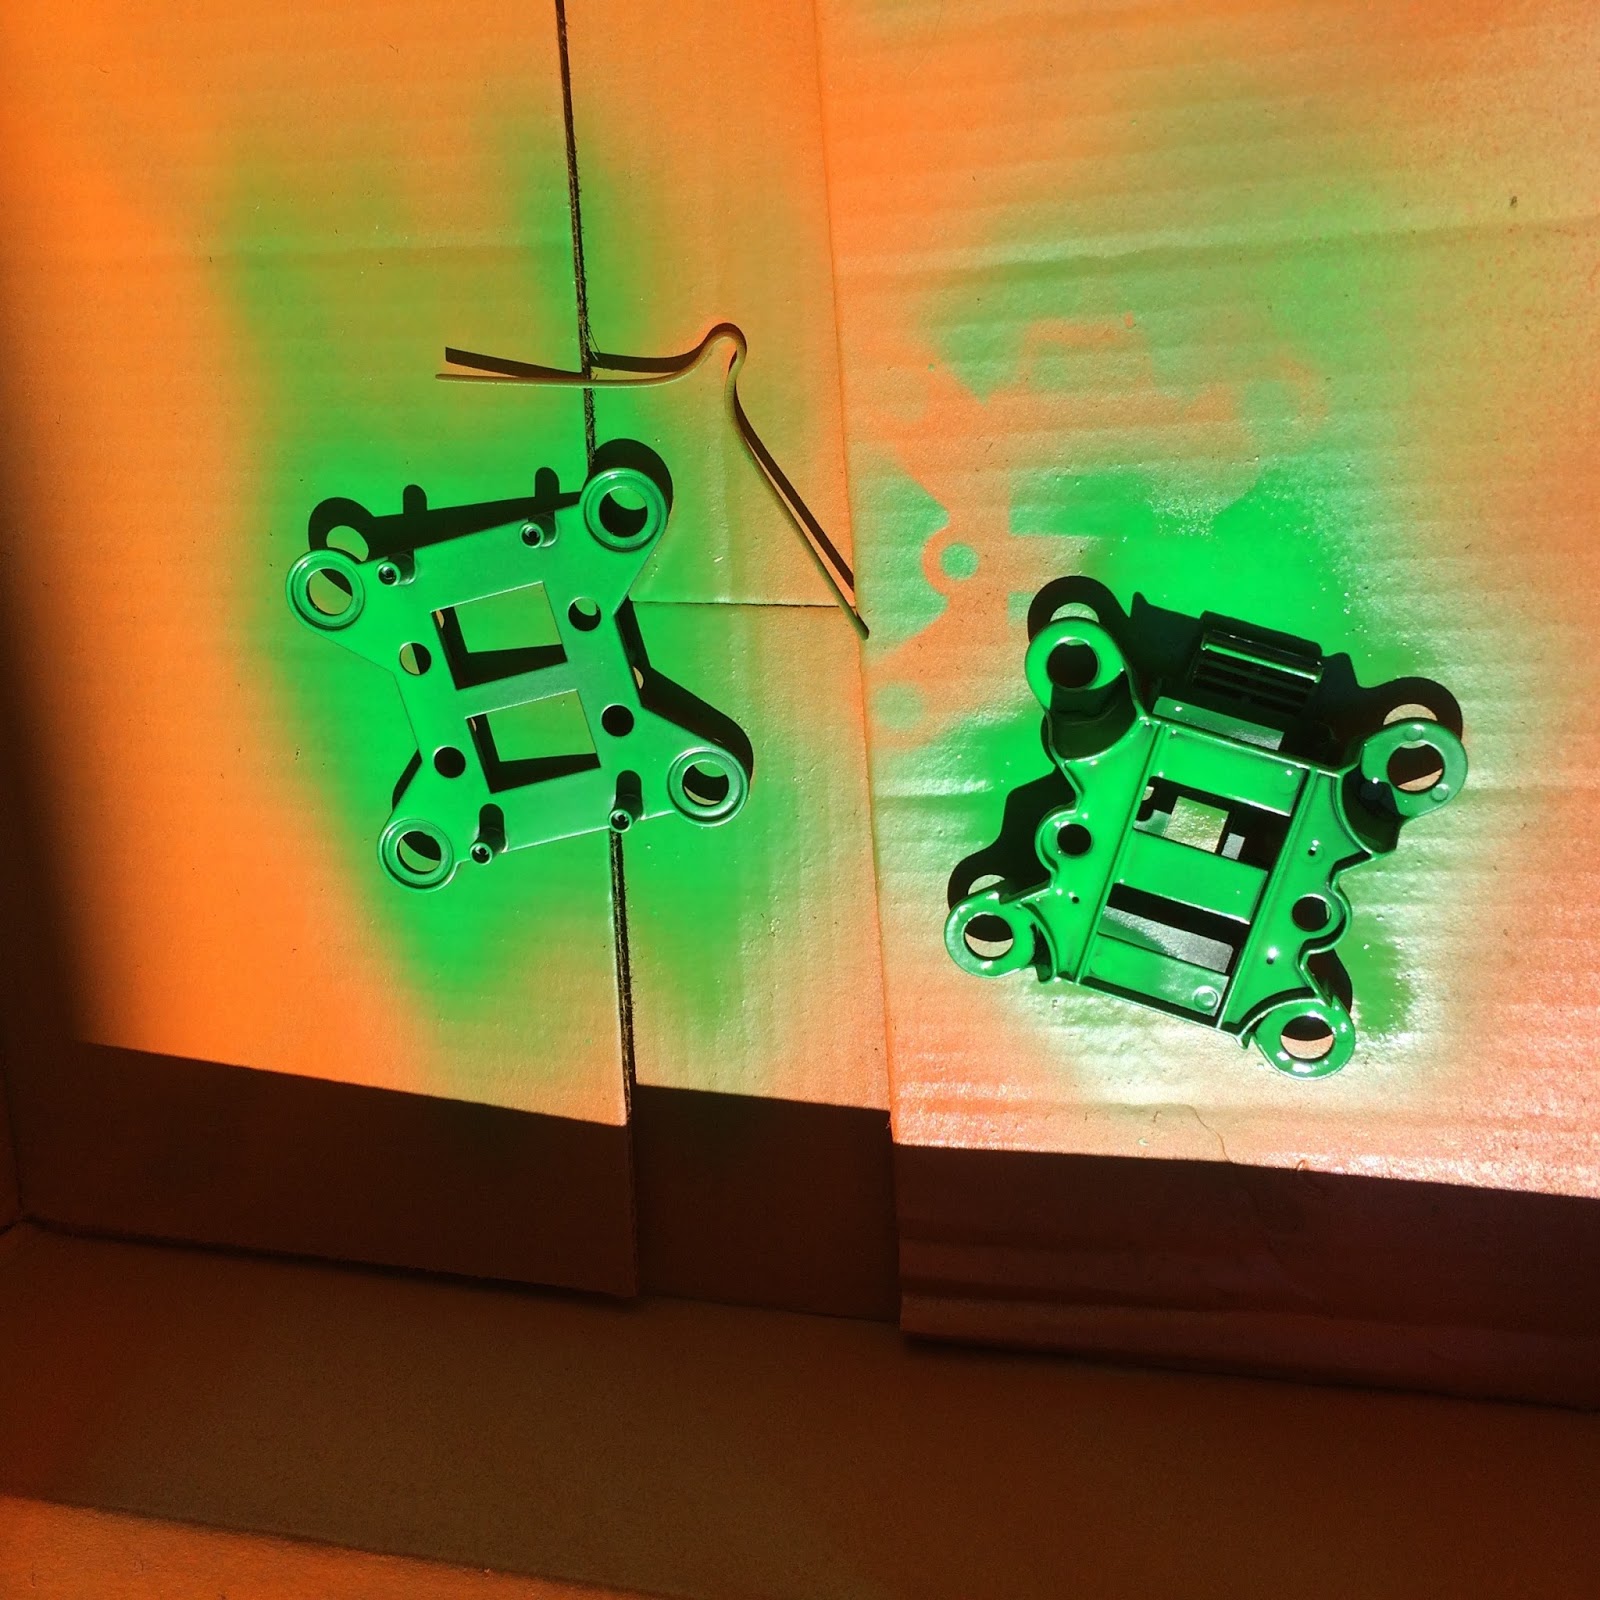
OK, the paint - I shot the frame this morning with the Orange and think I'm going to hit the front or back with a day-glo green for a little assistance with visual orientation as it's VERY hard to see it in black with it being so thin and small.

OHH Orange!!

Orange and green clash nicely!!

Now let's get into the build...
1st off -
The Parts I'm using here are as much from the Tarantula as I can, well, because I have them. All electronics are off the Tarantula as well as the motor mounts, gears, motors and props and even 90% of the screws.
The WLToys V262/V666 parts are listed...
- one body (WLtoys V262 V333 V666 RC Quadcopter Spare Parts Main Frame)
- 4 carbon arms (WLtoys V262 RC Quadcopter Spare Parts Carbon Shaft V262-17)
- one battery box (Spare V666 - 03 Battery Box Fitting for Wltoys V666 RC Quadcopter)
- Anti Vibration Camera Mount (Spare Anti - Vibration AB Fitting for Wltoys V666 RC Quadcopter)
- Anti Vibe Balloons (Damping Ball Fitting for Wltoys V666 RC Quadcopter)
Assembly of the frame is pretty straight forward. Slide the arms in the body, make sure they are seated then slide the motor mounts over the ends of the arms. The Tarantula motor mounts slide over the V262 carbon arms snuggly, down right perfect, almost like they were made to be used that way.. (hummmm, shared mold maybe? ;) )
(Click images to enlarge)


Some minor issue, the carbon arms I used have no holes or anything drilled in them and the Tarantula's motor mounts are held by the body halves studs screwed together holding it, nothing is actually screwed to the mount it's self, it's just pinched between the Tarantula shell.
For the body to arm mounting, the screws thread into the body so I just used some square point screws (no actual point to make a hole and crack the carbon) and pinched it lightly. worked awesome. For the arms to X6's motor mounts attachment I drilled a very small hole in each arm right where the stud in the Tarantula's body went through. screwed a small screw in that fit just inside the stud hole in the mount. Simply, it prevents the mount from sliding off the arm. I put a few drops of crazy glue in and around the hole to help prevent the carbon from cracking. (works great as the whole motor mount broke during a major crash last night so it's sure not coming off)
(Click images to enlarge)

The battery box is just screwed to the under side of the frame where there are 4 studs. If using the camera anti vibration mount the battery box screws to it. The battery adds weight to the dampening system as the camera it's self aren't usually enough weight to activate the balloons.
Electronics are also pretty easy to get setup with one exception (which is kinda a major one) the Flight Control Board.
I was REALLY careful with orientation of all the wiring so I wouldn't get the thing flying sideways or have issues with LED's or the battery cable. I detached everything from the Tarantula but left it all in the shell so as not to turn anything around or get something upside down. I mounted up the motors, gears and props on the new frame more so I could flip it over and not worry about the FC board getting squished. The amount they get in the way is minimal and the protection of the top of the FC board is worth the little annoyance. When it was time to install the FC and wiring I just put them side by side, picked it up out of the Tarantula body and plopped it on the V262 frame.


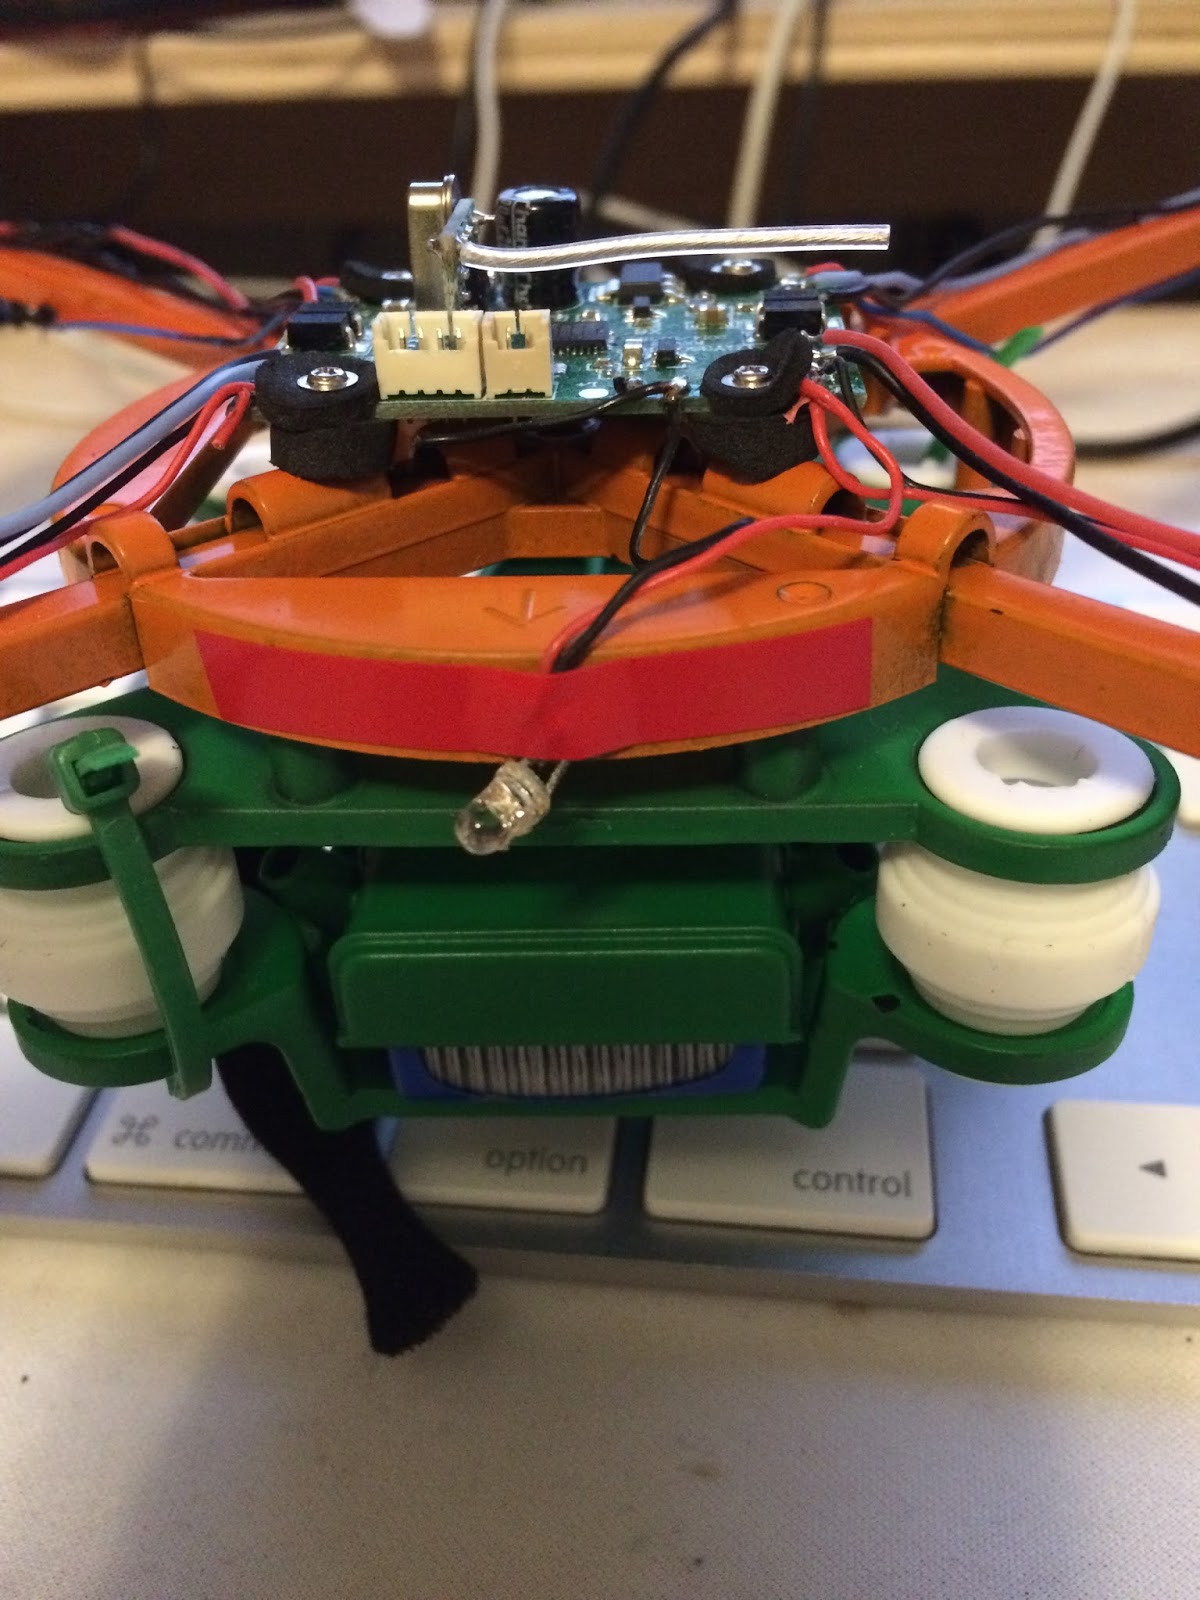
Only issue I had as I have stated earlier was with the FC board and the mounting studs on the V262 frame are just slightly off. As you can see the screws will actually go through and in, but they are in contact with the edge of the FC Board. I tried it that way and it flew but after a minute of so she'd start to pitch off and need trimming and it would get gradually worse. (almost exactly the same issues reported with bad version #2 FC boards.. wondering if there is an easy fix there?)

Screws are just off the holes in the FC Board
So, I ended up cutting out a small bit of the FC board and used the stock Tarantula board dampeners. I put the fat dampener doughnuts under and the thinner ones on top then used the stock Tarantula screw which have the tiny washer built into the head, I screwed it all down, but not too tight. Holds and flies perfectly. There is a small area the doughnut over laps one of the LED spots on the board but it hasn't cause an issue yet.


Board after knocking out for mounting studs and after dampeners and screws installed
Lastly, I just used a thin piece of electrical tape to hold the wires in place out on the arms. I removed the LED that is normally at the top of the Tarantula and one of the eye ball LED's broke off during mounting and such so I just snipped it's wires and left only one up front which is also held in place with a simple strip of electrical tape to the front of the body. I might drill a small hole in the body there to slip it through later to get a cleaner look, but for now it actually works well.

Lastly are the legs, which I recorded a little video of how I made them. Here's the simple zip tie leg install method I used.
The legs actually work really well and even better than I thought as I had a major crash which broke the motor mount right off the quad. Leg held the mount to the body somewhat and prevented the motor cable from being totally yanked and from the whole chunk being lost.

After crash broken motor mount which leg held from flying away
That's basically it!! transferring the X6 over to a V262 frame really isn't all that hard and MAN the thing is quieter, faster and smoother flying. The best part is I have taken a pretty much destroyed Tarantula and made it totally flyable again with a rather small investment of money and time.

- Flight Video -
https://www.youtube.com/watch?v=J__WBdBoG2I
Nice work. Board is # ?
ReplyDeleteBoard #1 but people with issue with board #2 I've heard a few just mod the dampeners with something a bit thicker and it has fix their issue
ReplyDeleteFantastic blog there Thom. Still waiting for mine to arrive so cannot start my little project yet.
ReplyDeleteWanted to check what exactly you have done with the board. I have the Board#1 and four doughnuts (Board dampners).
ReplyDeleteSo from what I understand, you drilled the existing holes to cut them off, put the board on top of the V666 chasis, put the doghnuts ontop of the board and screw them down. correct?
sorta, there are actually 8 little donuts, 4 thin and 4 fatter.. I used the fatter one under and the thinner ones between the board and the screw head.
Deletei only got 4 donuts on my #2 board, i'll see when i start to mount the frakenspider
ReplyDeletelikely have the 2 stuck together? the thin uppers are REALLY thin... need all 8 or they are pointless as the vibrations will feed right through the screw head.
DeleteThanks for all of the info you have shared here. Just got my parts in and getting ready to attempt to do the mod on one of my tarantulas!
ReplyDeletehave fun.. note if you have questions/issues there are lots of people who have done this (some improved on it in ways) and willing to help both on the Facebook group https://www.facebook.com/groups/TaratulaQuad/ and the RC forums... https://www.rcgroups.com/forums/showthread.php?t=2320902&page=584
ReplyDelete